
How to make Homemade Peach Jam without Pectin
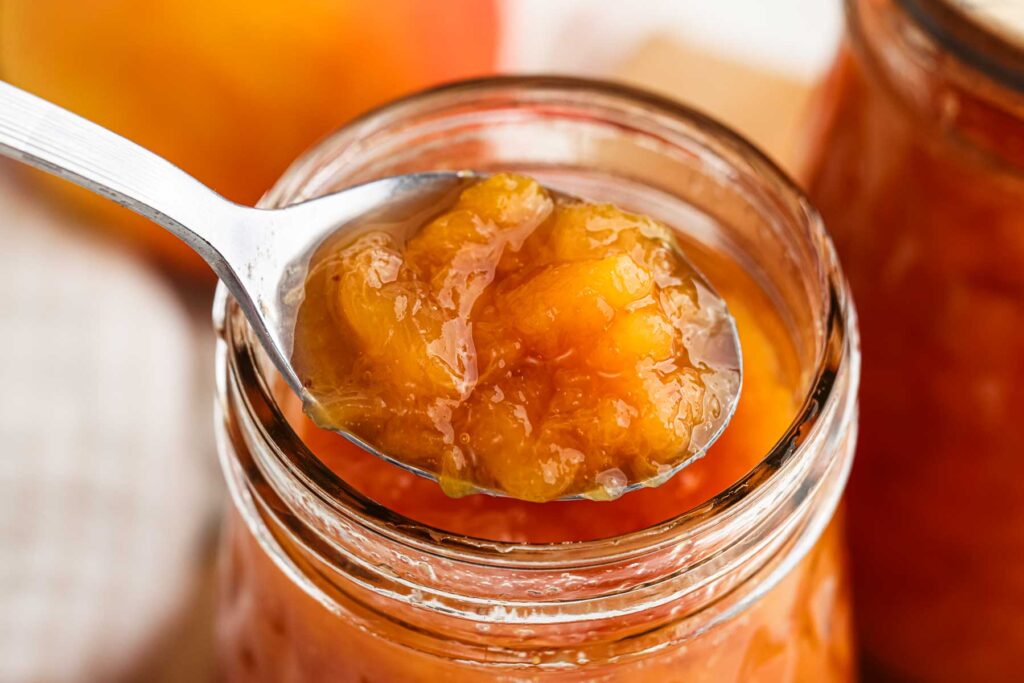
Ready to make homemade peach jam? There’s a moment every summer when the peaches on the counter go from perfect to almost too ripe overnight. You turn around and suddenly they’re soft, fragrant, and begging to be used before they’re gone. My grandparents never would have let them sit there. They lived by a simple rule — waste not, want not. Use what you have, don’t waste it, always have enough. I watched them move through life that way and it stuck with me, even if our throwaway society makes it harder to practice than it used to be.
Jump to RecipeThis post may contain affiliate links. If you click on a link and then make a purchase, I may get a small commission from that sale, at no extra cost to you.
So when a pile of overripe peaches showed up on my counter this peach season, I did what they would have done. I made jam. It didn’t take long, the peaches were used before they went bad, and it tasted so good I’ll been making it a Summer tradition.
This easy peach jam is made with just three ingredients: fresh peaches, sugar, and lemon juice. No pectin, no complicated canning process, no special equipment beyond a saucepan and some glass jars. If you’ve never made homemade jam before, this is the one to start with.
Why Skip the Pectin?
In recent years, pectin jams have become the standard and there’s nothing wrong with them. Pectin gives you a faster set and a more consistent result, which is why most store-bought jams rely on it. But peaches are a stone fruit with enough natural pectin of their own, especially when you’re working with fruit that’s fully ripe. Cook them down slowly with a little sugar and lemon juice and they’ll thicken up beautifully on their own, with a flavor that’s deeper and more concentrated than anything pectin jams can pull off.
Less sugar, no additives, nothing artificial. Just peaches doing what peaches do best.
What You’ll Need
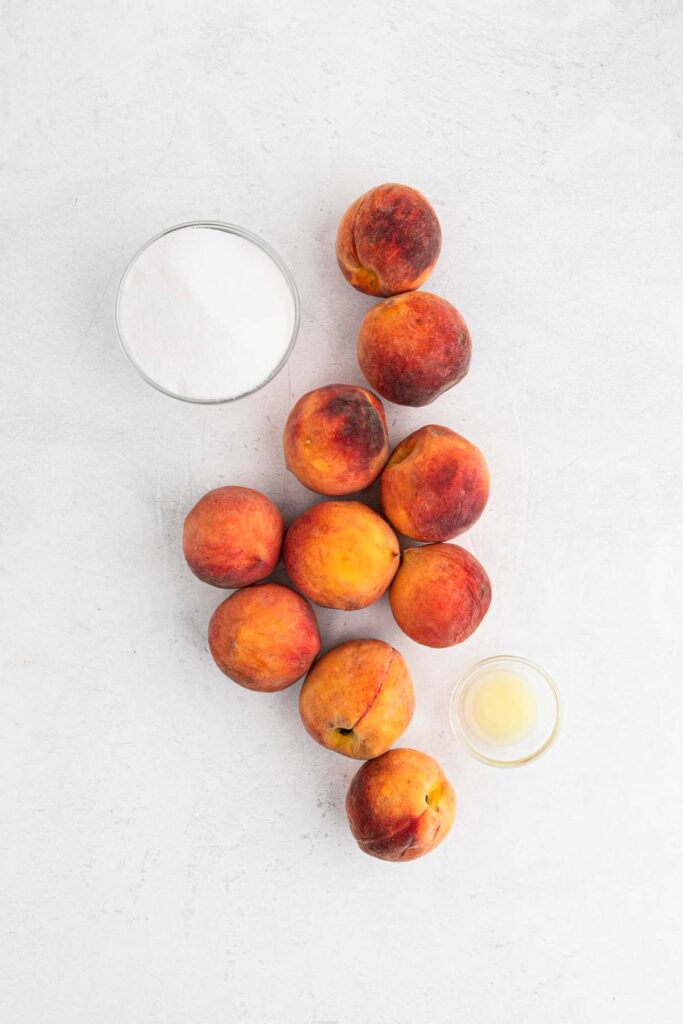
- 10 medium to large fresh peaches
- 2 cups granulated sugar, more or less to taste
- 1 tablespoon lemon juice
That’s it. The simplicity is part of what makes this easy recipe so good — there’s nowhere for bad ingredients to hide, so the quality of your peaches is everything. Farmers market fruit in peak peach season will give you the best result, but grocery store peaches work just fine too. Overripe peaches are actually ideal here — the softer and more fragrant, the better the jam.
How to Make Easy Peach Jam
Sterilize Your Jars
Before making your homemade peach jam, sterilize your canning jars. Run them through the dishwasher on a hot cycle, or submerge them in boiling water for 10 minutes. If you have a water bath canner, this is a great time to put it to use — though for a small refrigerator batch, clean glass jars straight from the dishwasher will do the job. Half-pint jars are the perfect size for this recipe and make great gifts too.
Peel and Pit the Peaches
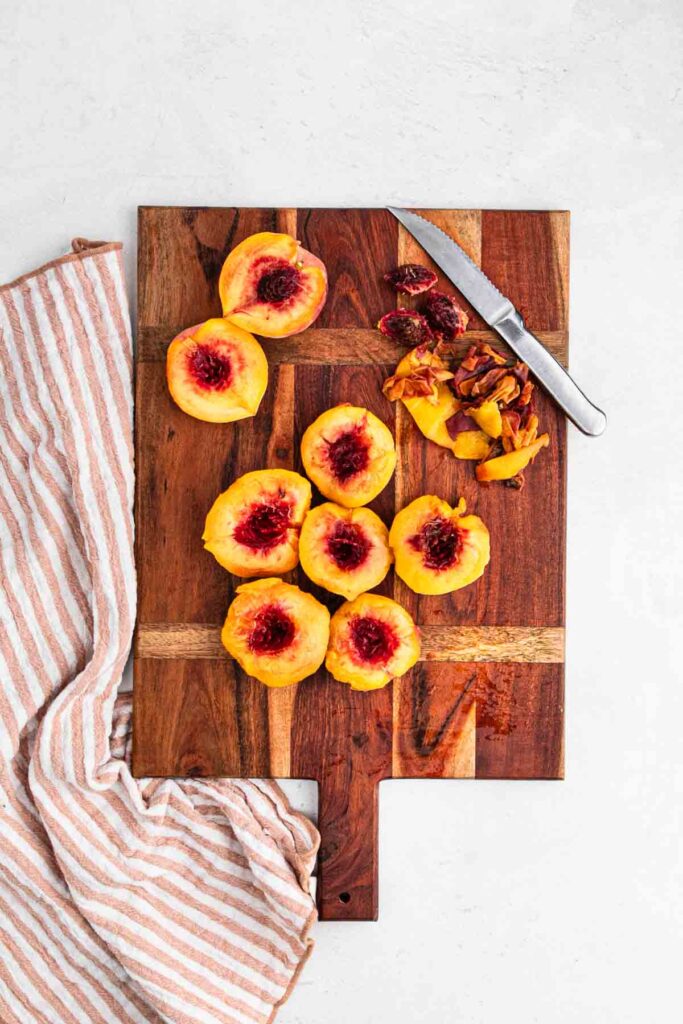
Cut each peach in half and remove the pit. Then use a paring knife to peel away the skin — it comes off easily on ripe fruit and takes less time than you’d expect. Once peeled, you can roughly chop the halves or leave them as is, since they’ll break down during cooking either way.
Cook the Peaches Down
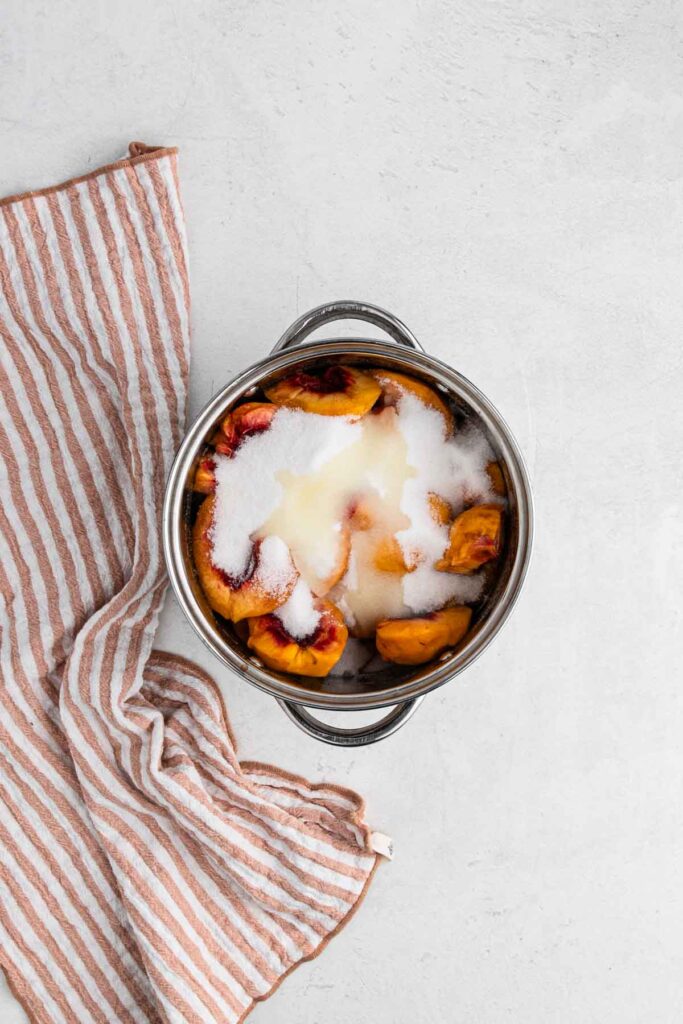
Add the peach halves to a medium saucepan along with the sugar and lemon juice. Cook over medium heat for 15 to 20 minutes, stirring occasionally with a wooden spoon, until the peaches soften and start to release their juices. The kitchen is going to smell incredible at this point. Peachy, sweet, and warm in a way that feels like summer distilled into one pot.
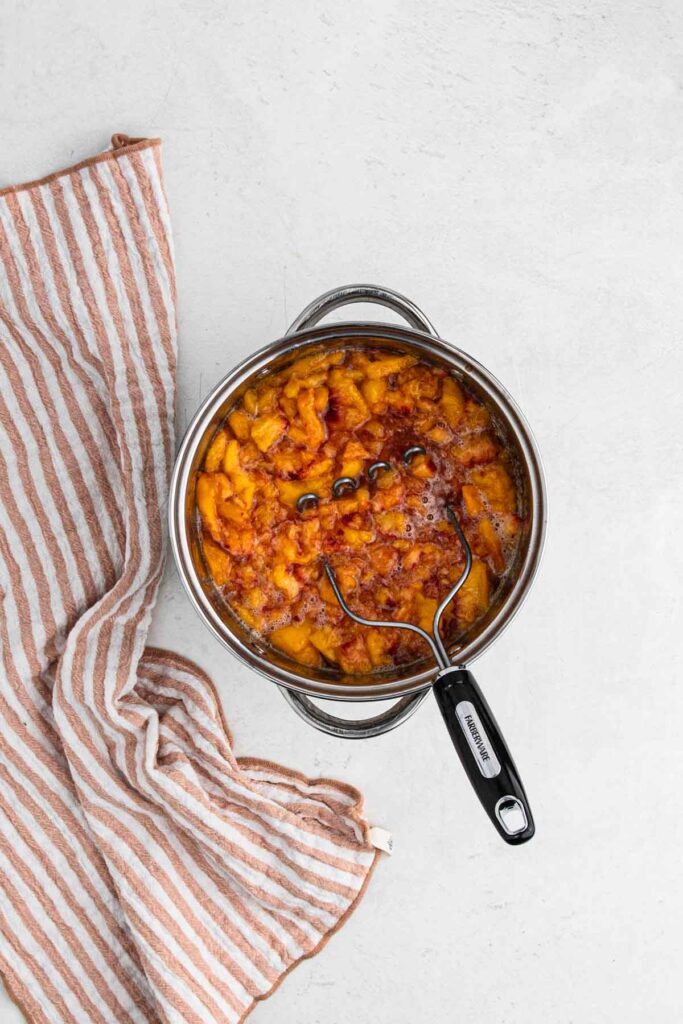
Once the peaches are soft, use a potato masher to break them down into small chunks, or reach for a handheld immersion blender if you prefer a smoother texture. Both work well, it really just comes down to whether you like your jam a little rustic or completely smooth.
Bring to a Full Boil
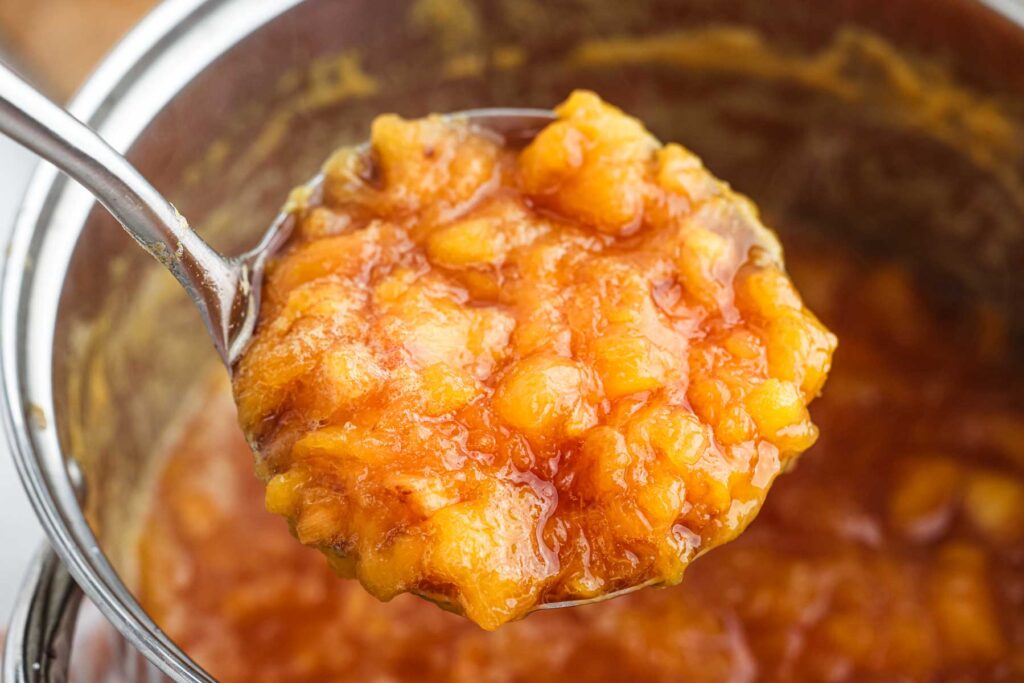
Turn the heat up to medium-high and bring the mixture to a full boil, stirring frequently to keep things from sticking to the bottom of the pan. Continue cooking for another 15 to 20 minutes, keeping an eye on the consistency as it thickens. The cooking time can vary depending on how juicy your peaches were to start, so go by texture rather than the clock. Skim the foam off the top with a spoon.
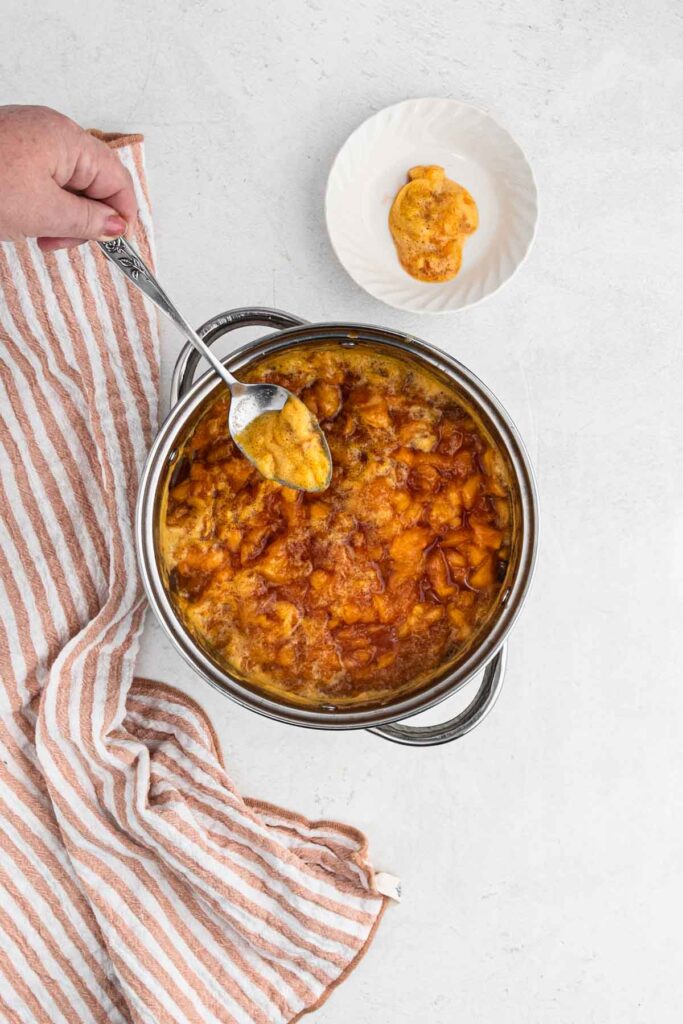
To check if the jam is ready, spoon a small amount onto a small plate that’s been sitting in the freezer for a few minutes. Push it with your finger, if it wrinkles and holds its shape, it’s done. If it runs back together, give it a few more minutes and check again.
Jar It Up
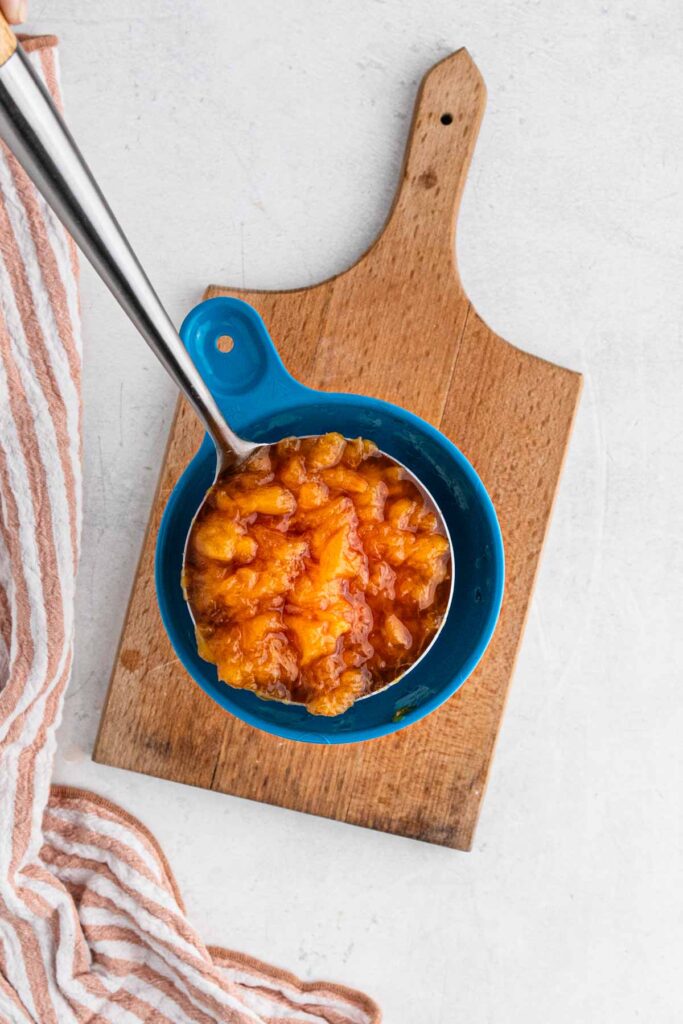
Use a funnel to ladle the hot jam into your sterilized jars, filling to about ¼ inch from the top. Wipe the rims clean before putting the lids on, any residue can affect the seal. Tap the jars gently on the counter to release any air bubbles that might have formed, then place the lids on top and let them cool completely on the counter before moving to the refrigerator.
Storage
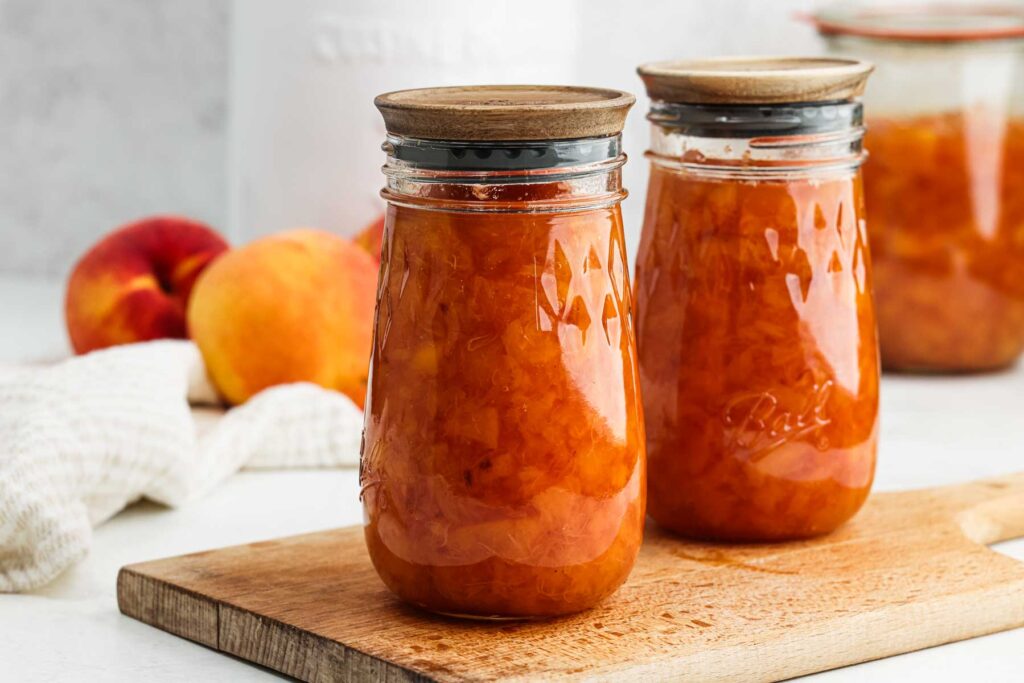
This homemade jam keeps in the refrigerator for up to three weeks. For longer storage, let the jars cool completely and transfer to freezer-safe containers, it’ll keep in the freezer for up to a year. This is a great way to hold onto that summer peach flavor well into the colder months when fresh peaches are long gone.
This recipe is not designed for water bath canning or long-term shelf storage as written. If you’d like to make it shelf stable, you’ll need to follow tested canning guidelines and process the sealed jars in a water bath canner.
Favorite Ways to Use Homemade Peach Jam
Spread it on a warm biscuit fresh from the oven — that’s the obvious one, and it never gets old. But there are so many other favorite ways to use a jar once you’ve got one in the fridge.
Spoon it over vanilla ice cream for the easiest summer dessert you’ll ever make. Swirl it into plain yogurt or oatmeal in the morning. Use it as a glaze on grilled chicken or pork chops — the sweetness plays beautifully against savory. Layer it between cake rounds, stir it into salad dressing, dollop on top of French toast, or just eat it straight from the jar with a spoon. No judgment here.
A Few Tips Before You Start
Overripe peaches are your friend. Fruit that’s a little past its prime has more natural pectin and more concentrated sweetness, which means better jam. Don’t reach for the firmest peaches in the basket — reach for the ones that are almost too soft to eat.
Adjust the sugar to taste. Two cups is the starting point, but if your peaches are very sweet you can pull it back. Taste as you go and trust yourself.
Don’t rush the boil. That second cooking time — after mashing and turning up the heat — is where the jam develops its flavor and thickness. Keep the heat steady and stir often.
Use a wide, heavy-bottomed pan. More surface area means faster evaporation, which speeds up the thickening process and reduces the risk of scorching on the bottom.
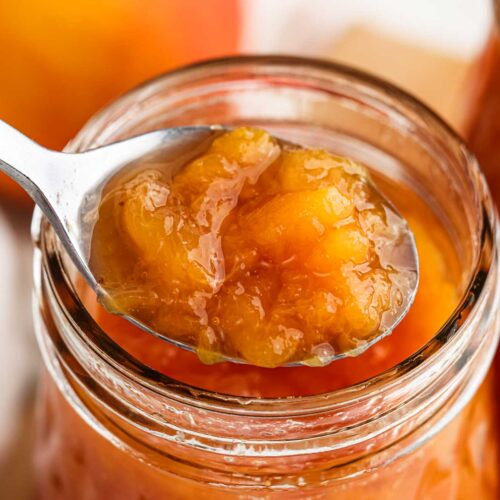
A jar of homemade peach jam made from fruit that was almost past the point of no return — that’s the kind of thing my grandparents would have recognized. Nothing wasted. Something delicious made from what was already there. It’s a small thing, but it adds up. And it tastes a whole lot better than anything sitting on the store shelf.
Looking for a great homemade holiday gift idea? Try making this delicious Amish Apple Butter.
Peach Jam (without Pectin)
Ingredients
- 10 medium to large fresh peaches
- 2 cups granulated sugar more or less to taste
- 1 tablespoon lemon juice
Instructions
- Sterilize your jars by running them through the dishwasher on a hot cycle or submerging in boiling water for 10 minutes.
- Cut peaches in half, remove the pit, and peel the skin with a paring knife.
- Add peaches, sugar, and lemon juice to a medium saucepan over medium heat. Cook for 15–20 minutes until peaches are soft.
- Mash with a potato masher for a chunky texture, or blend with an immersion blender for a smoother jam.
- Turn heat to medium-high and bring to a full boil. Cook for another 15–20 minutes until the jam reaches your desired consistency.
- Ladle hot jam into sterilized jars using a funnel, filling to ¼ inch from the top. Tap jars to release air bubbles and wipe rims clean before sealing.
- Store in the refrigerator for up to 3 weeks, or freeze in freezer-safe containers for up to 1 year.